
前言
前面三章我们用了原生 JS、Vue、React 进行插件项目的开发,都要自己配置 config 文件,那本章我们用第三方工具 CRXJS 来开发 Chrome 插件,无需手动配置构建工具,方便快捷。
一、CRXJS
一、什么是 CRXJS?
CRXJS Vite Plugin 是一款使用现代 Web 开发技术制作 Chrome 扩展的工具
二、CRXJS 的作用
CRXJS 支持热加载和静态资源导入,无需手动构建配置工具 CRXJS Vite 插件通过将 Vite 的精细功能与简单的配置策略相结合,简化了 Chrome 扩展开发者体验
二、使用 Vue 开发 Chrome 插件
一、创建 Vue 项目
1. 使用 Vite 创建 Vue 项目
shell
npm create vite@latest # npm
yarn create vite			 # yarn
pnpm create vite # pnpm选择 Vue 和 TS

进入项目,并进行 pnpm i 安装 node_modules
shell
pnpm i # 安装包2. 安装 CRXJS Vite 插件
shell
pnpm i @crxjs/vite-plugin@beta -D # 安装 CRXJS Vite 插件3. 创建 Manifest.json 文件
json
{
  "manifest_version": 3,
  "name": "CRXJS Vue Vite Example",
  "version": "1.0.0",
  "action": {
    "default_popup": "index.html"
  }
}4. 修改 Vite.config.ts 配置文件
typescript
import { defineConfig } from 'vite'
import vue from '@vitejs/plugin-vue'
import { crx } from '@crxjs/vite-plugin'
import manifest from './manifest.json' assert { type: 'json' } // Node >=17

// https://vitejs.dev/config/
export default defineConfig({
  plugins: [
    vue(),
    crx({ manifest }),
  ],
})5. 运行 pnpm run dev 命令
可以看到多了个 dist 文件夹,这个就是构建好的插件安装包
shell
.
├── README.md
├── dist
│   ├── assets
│   │   └── loading-page-1924caaa.js
│   ├── index.html
│   ├── manifest.json
│   ├── service-worker-loader.js
│   └── vite.svg
├── index.html
├── manifest.json
├── package.json
├── pnpm-lock.yaml
├── public
│   └── vite.svg
├── src
│   ├── App.vue
│   ├── assets
│   │   └── vue.svg
│   ├── components
│   │   └── HelloWorld.vue
│   ├── main.ts
│   ├── style.css
│   └── vite-env.d.ts
├── tsconfig.json
├── tsconfig.node.json
└── vite.config.ts6. 安装插件
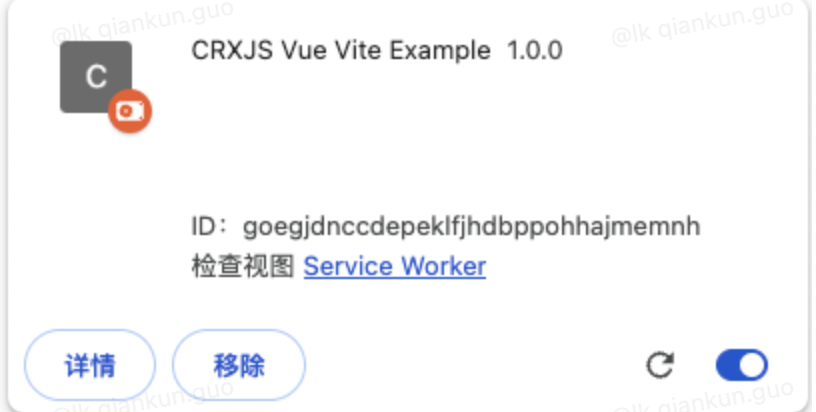
打开浏览器输入:chrome://extensions,点击【加载已解压的扩展程序】选择 dist 文件夹进行安装
插件页面
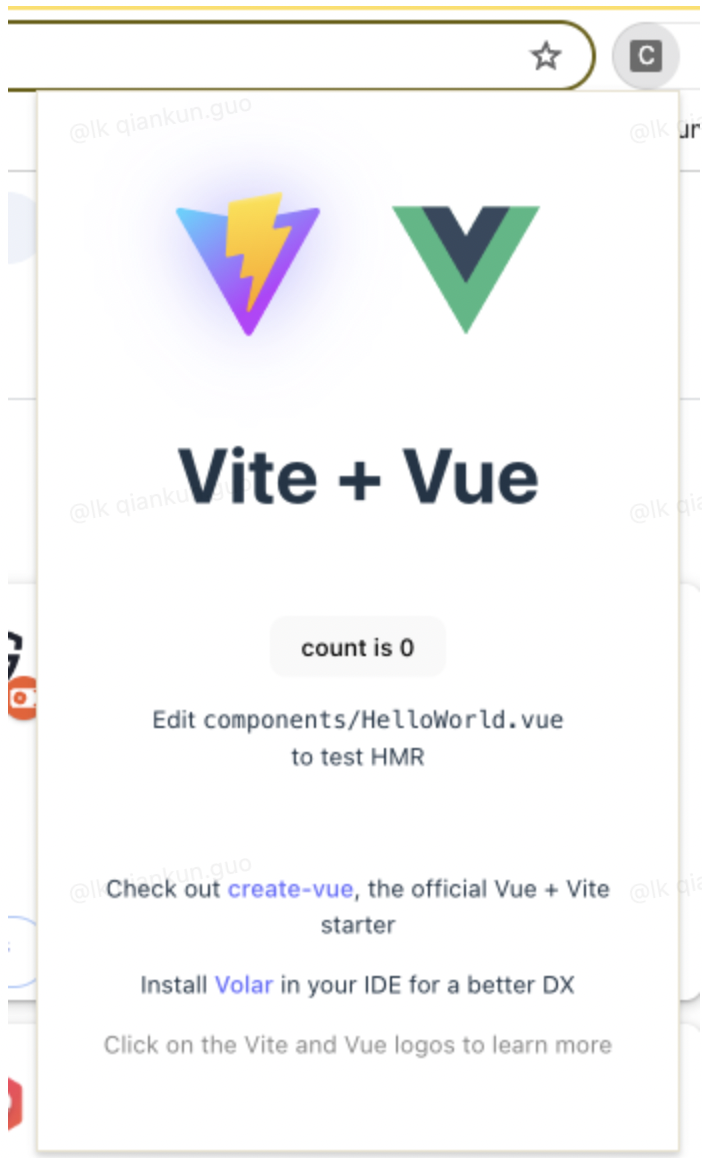
popup action 页面
7. HMR 热加载
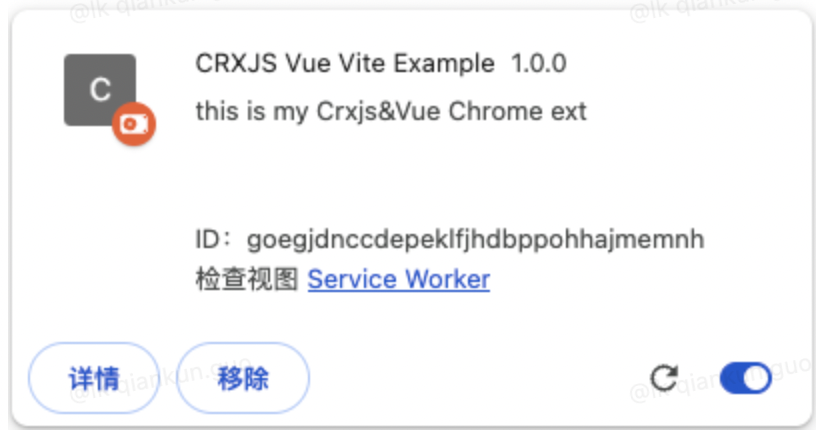
7.1. Manifest.json 热加载
添加 description
json
"description": "this is my Crxjs&Vue Chrome ext",无需刷新插件和插件页面
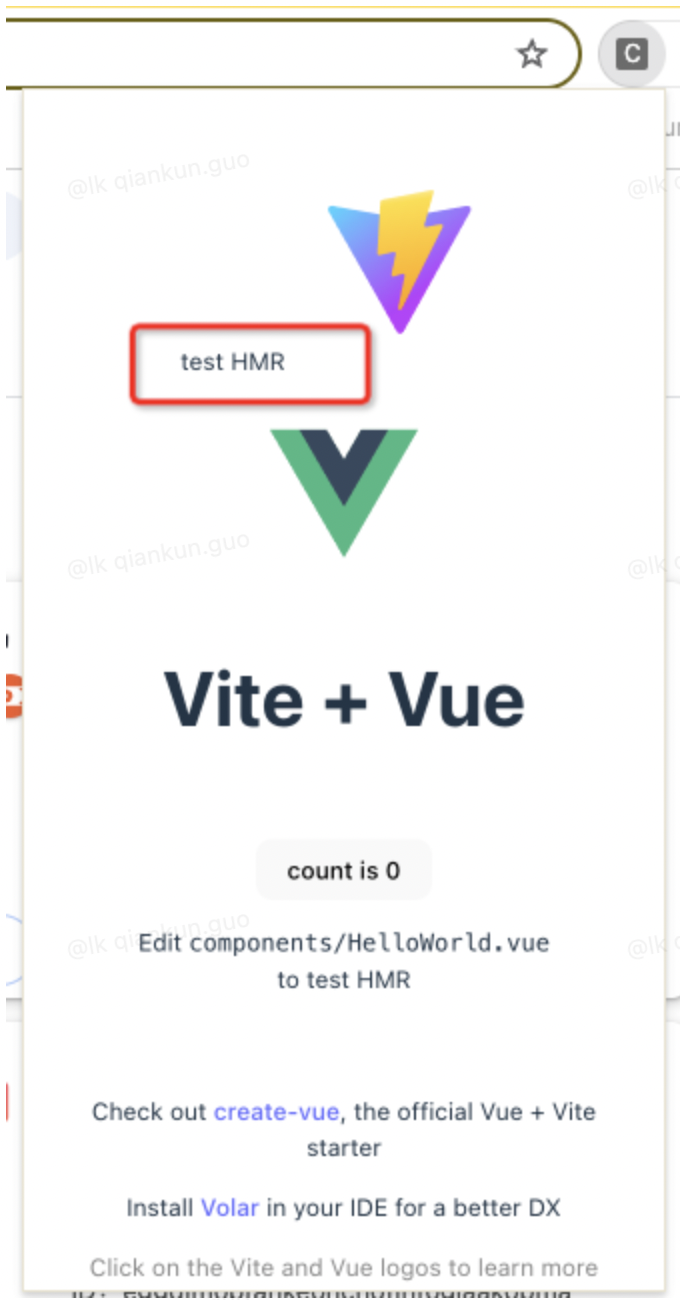
7.2. Popup 页面热加载
修改 popup 页面 我们选择 src/app.vue 页面,加入这几个文案
latex
test HMR重新点击 popup action
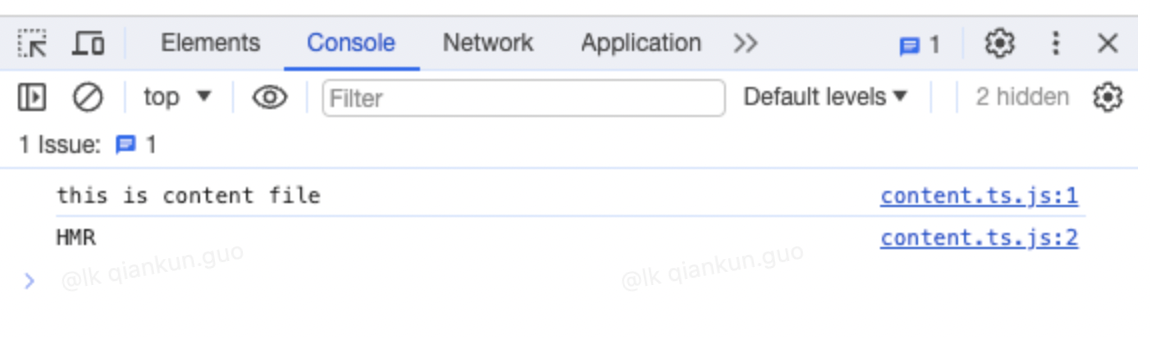
7.3. Content 页面热加载
content.ts 页面代码
typescript
console.log('this is content file')
console.log('HMR')当前页面无需手动刷新
二、插件模块配置
1. Content 模块配置
1.1. Src 中新建 content 文件夹,content 文件夹中新建 content.ts 文件
shell
src/content
└── content.ts简单写入以下代码
typescript
console.log('this is content file')1.2. 配置 manifest.json 文件
因为有 crxjs 给我们做处理了,所以在 content_scripts 中的 js 字段,直接根据 root 配置引入就行
json
"content_scripts": [
  {
    "js": [
      "src/content/content.ts"
    ],
    "matches": [
      "http://127.0.0.1:5500/*"
    ],
    "all_frames": true,
    "run_at": "document_end",
    "match_about_blank": true
  }
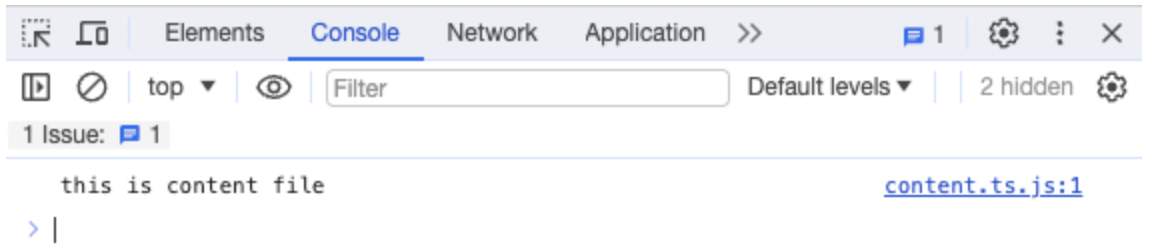
]1.3. 保存,刷新 http://127.0.0.1:5500/* 页面
可以看到 content.ts 中的日志输出了
2. Background Service-worker 模块配置
2.1. src 中新建 background 文件夹,background 文件夹中新建 service-worker.ts 文件
shell
src/background
└── service-worker.ts简单写入以下代码
typescript
console.log('this is background service worker file')2.2. 配置 manifest.json 文件
因为有 crxjs 给我们做处理了,所以在 background 中的 service_worker 字段,直接根据 root 配置引入就行
json
"background": {
  "service_worker": "src/background/service-worker.ts"
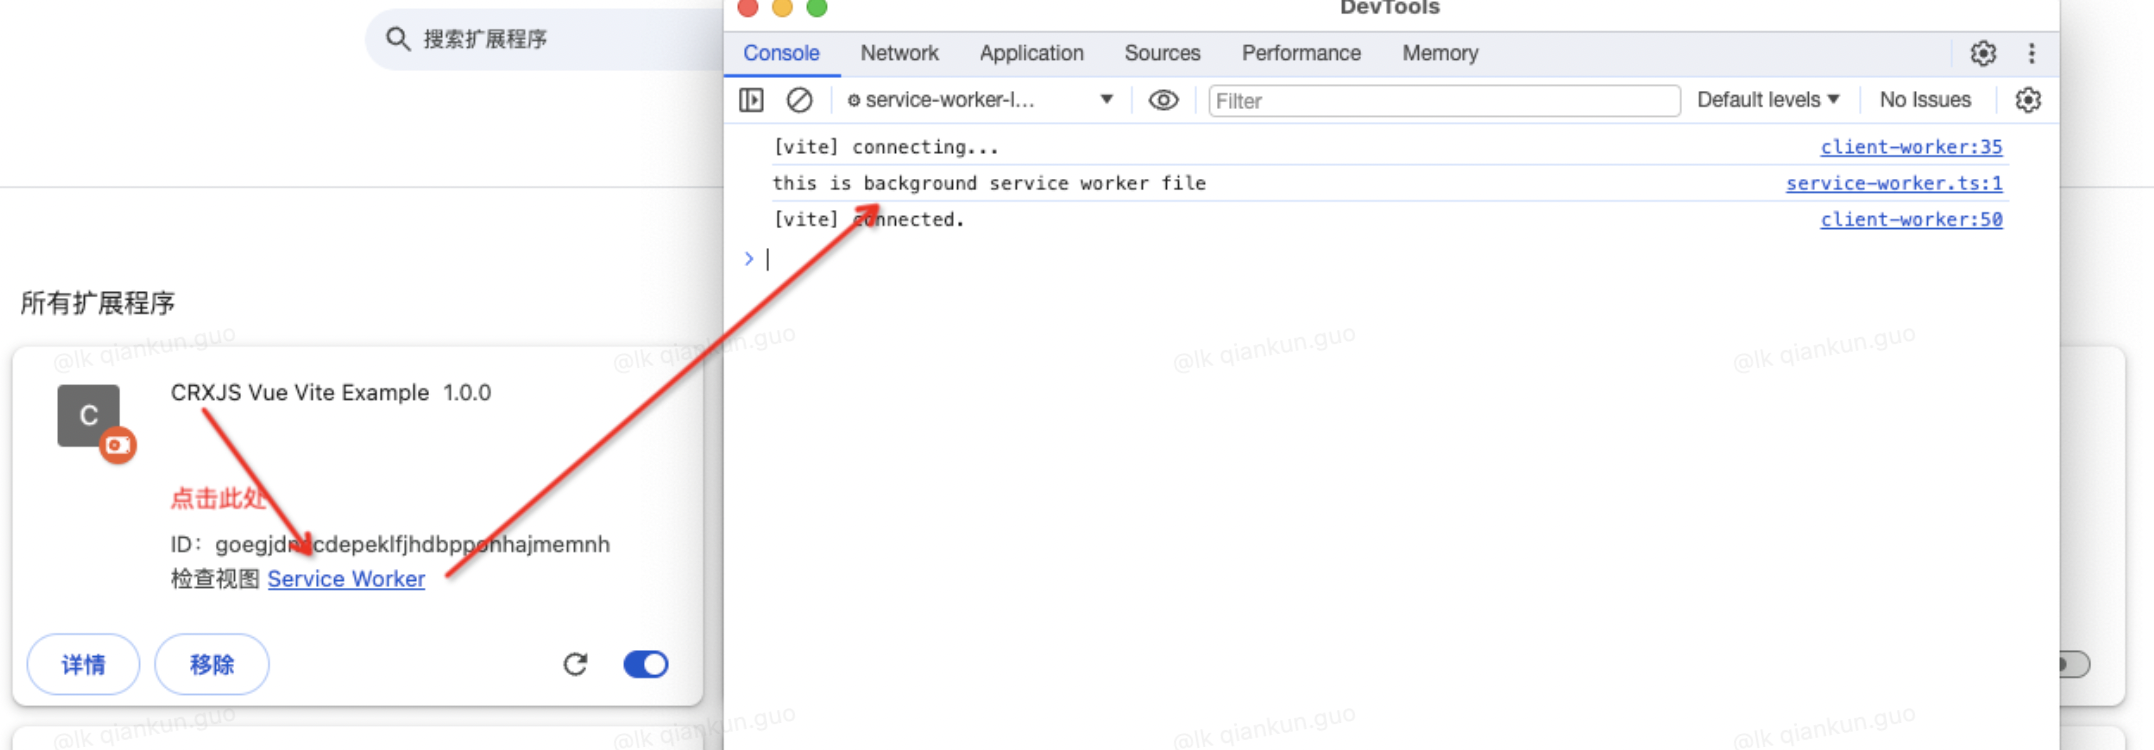
},2.3. 保存,点击插件 Service Worker 模块
可以看到 service_worker.ts 中的日志输出了
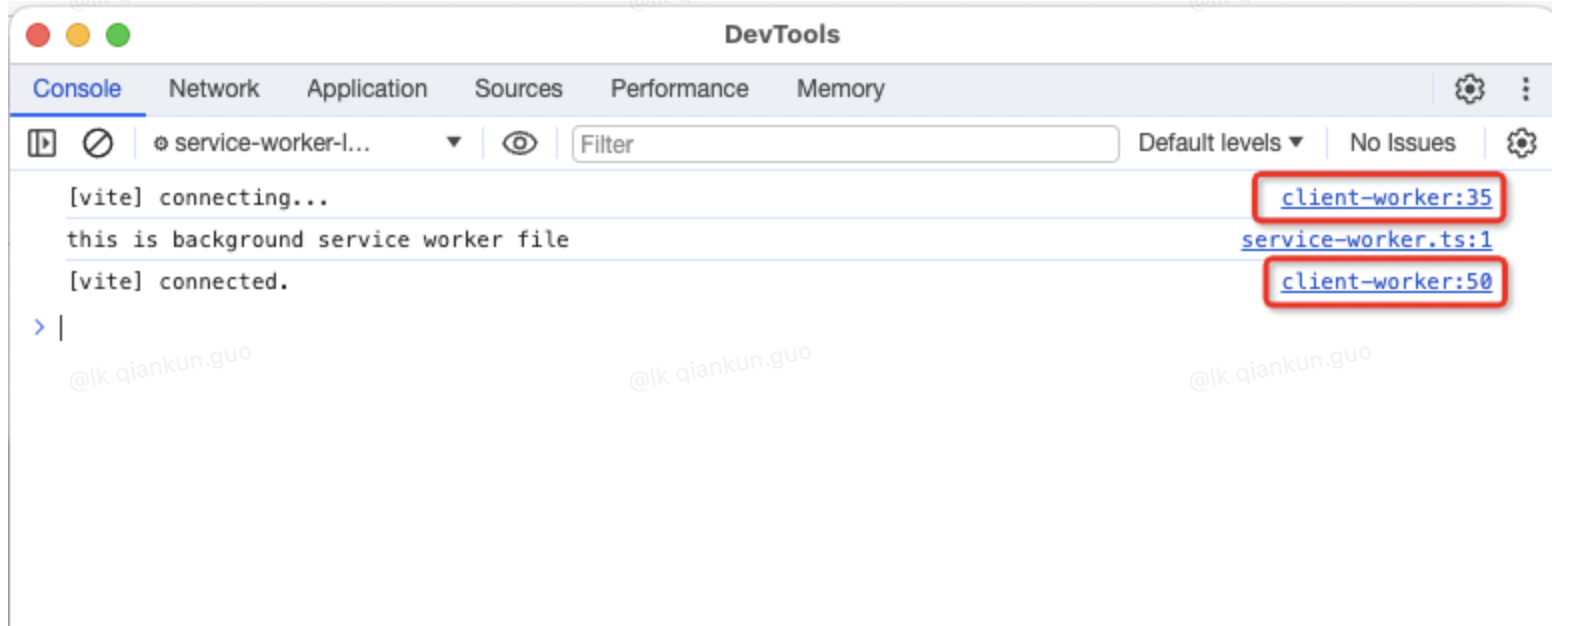
2.4. 可以看到有两行 client-worker 输出
这个不用管,如果这个报错也不用管,这个是 crxjs 的配置,以及热加载
三、插件项目开发
1. Chrome TS 配置
1.1. 安装 chrome-types 模块
shell
pnpm i chrome-types -D1.2. Src/vite-env.d.ts 中增加配置
typescript
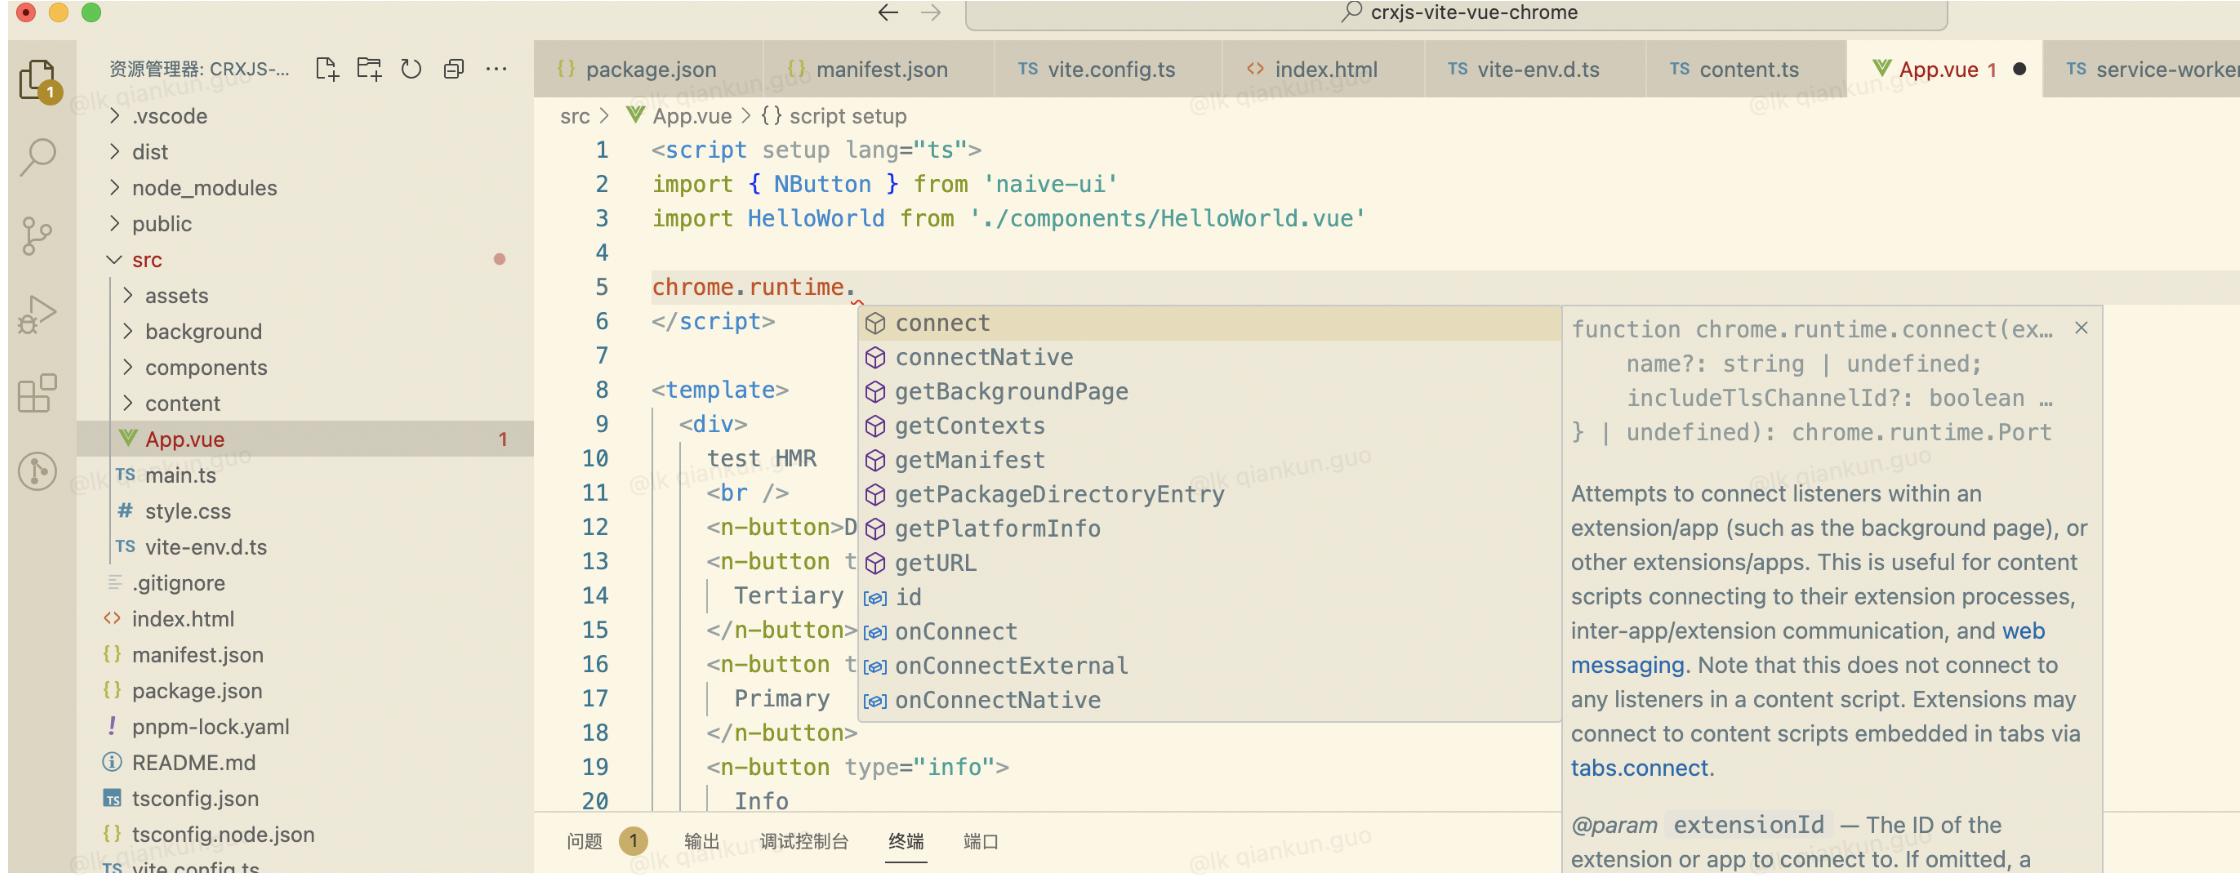
/// <reference types="chrome-types/index" />1.3. App.vue 中使用 chrome
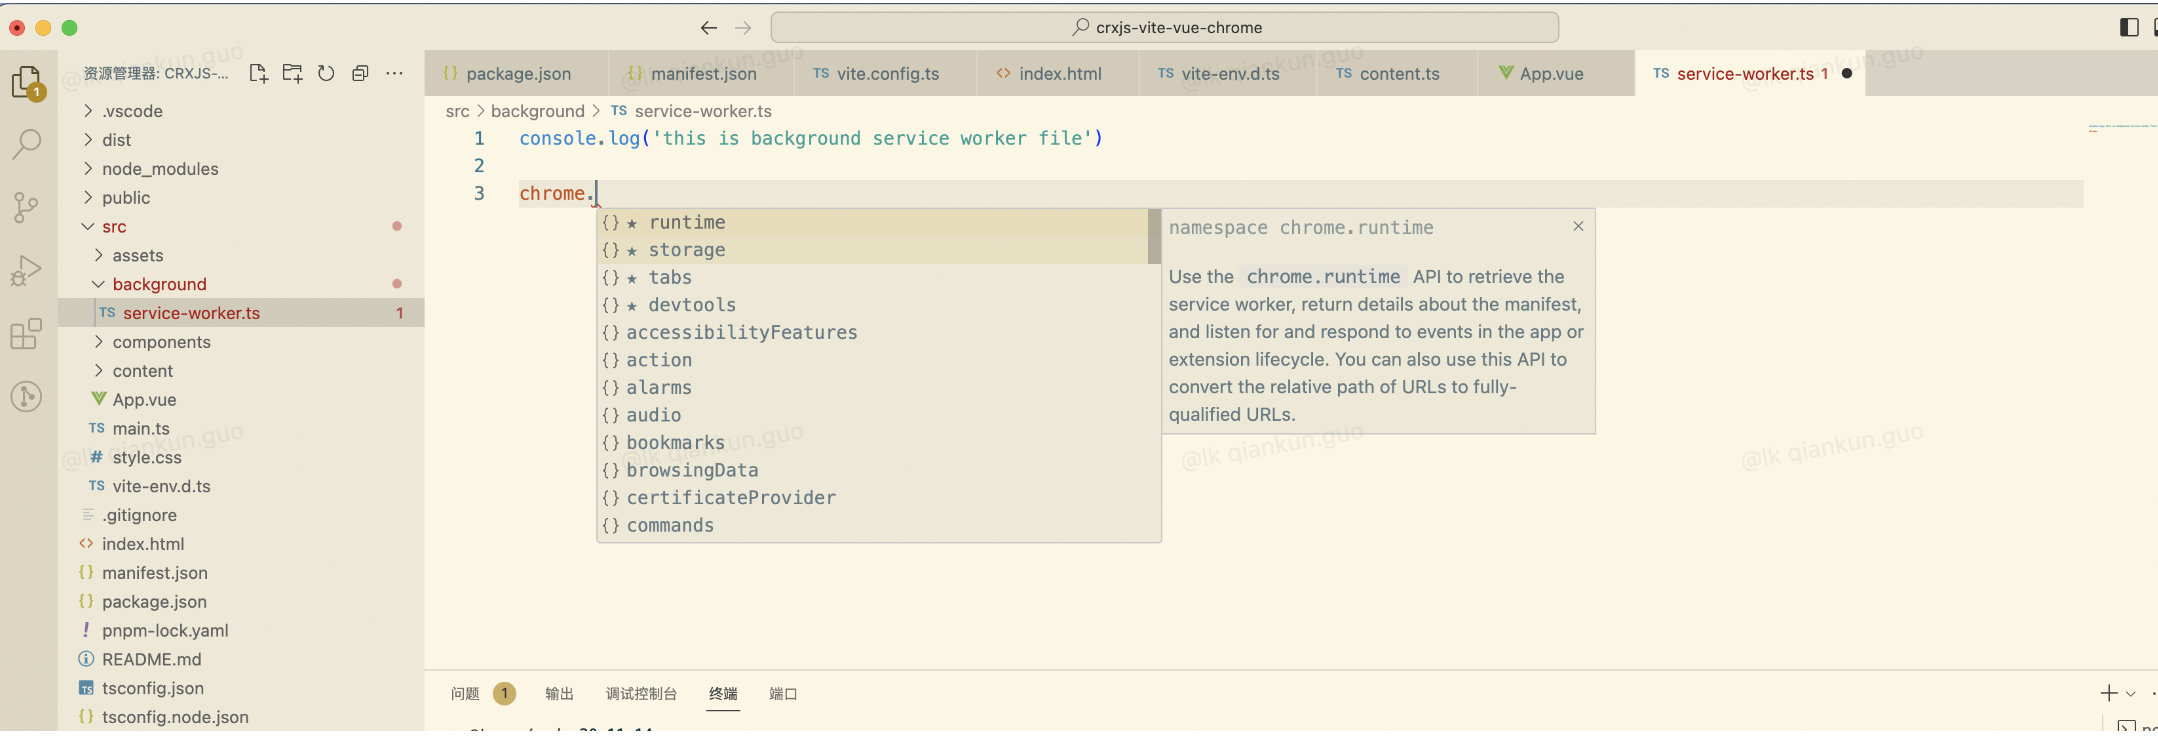
1.4. Service-worker.ts 中使用
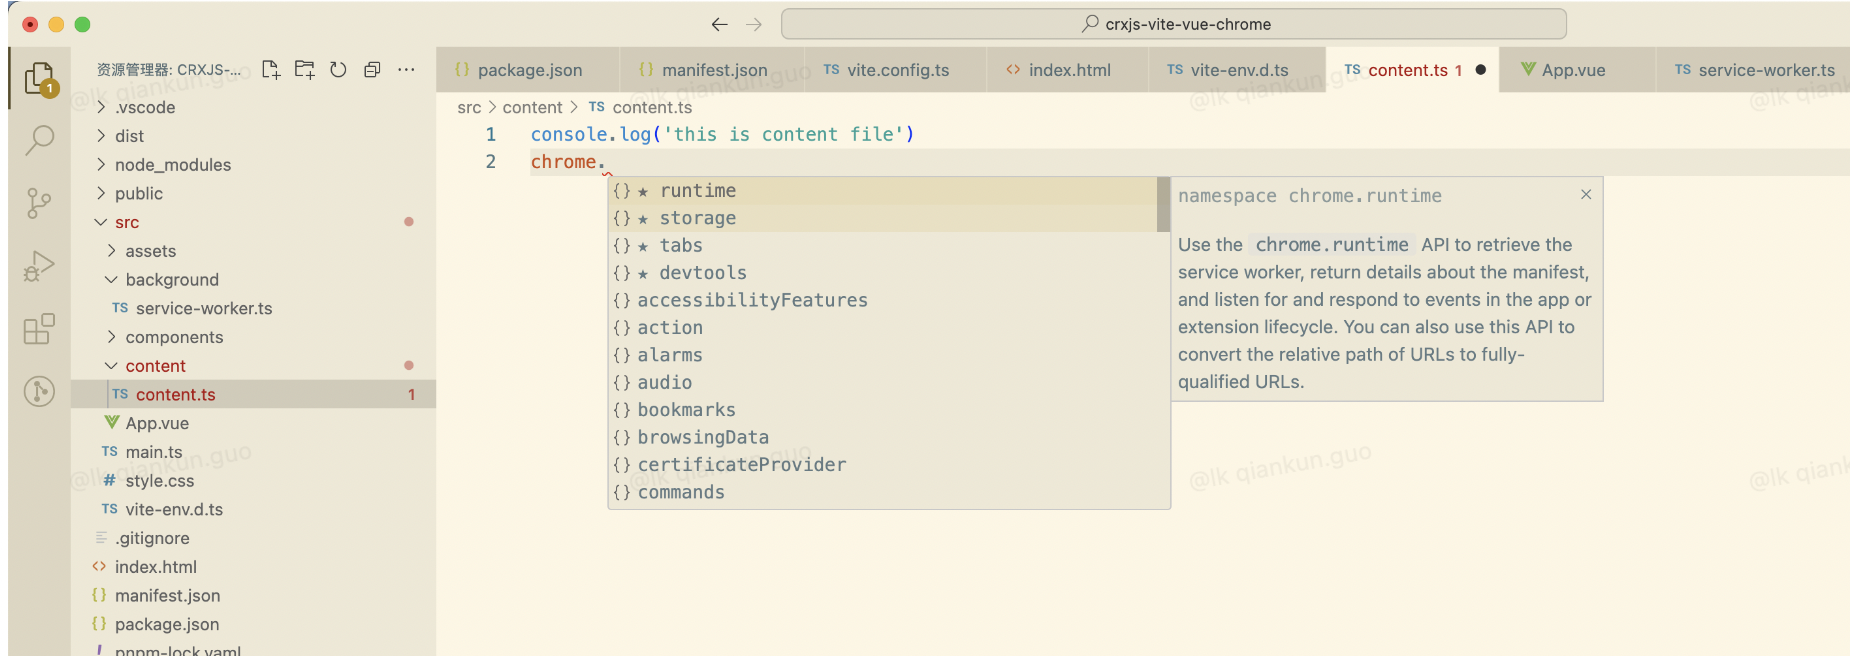
1.5. Content.ts 中使用
2. 静态资源引入
2.1. Assets 文件夹下添加一张图片
shell
src/assets
├── vite_crxjs_vue3.jpg
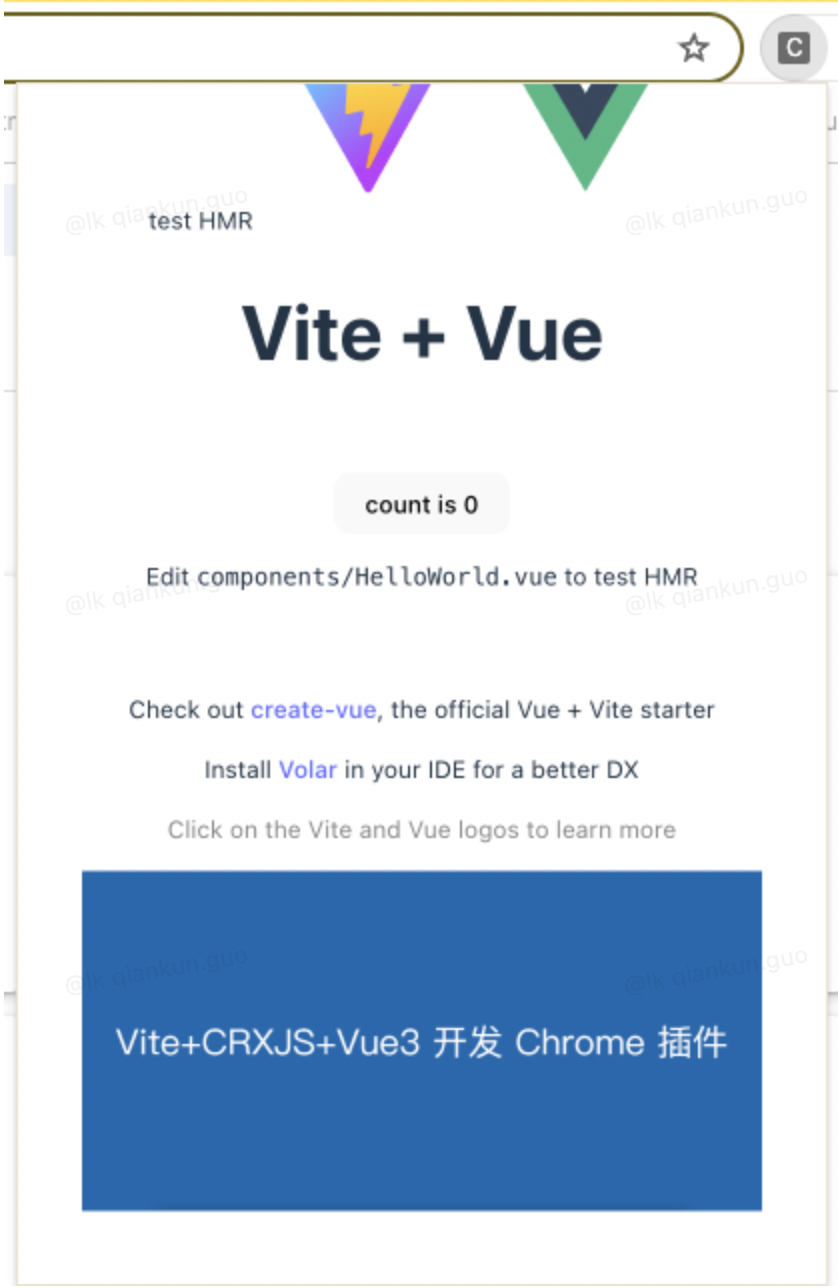
└── vue.svg2.2. App.vue 中引入
html
<img src="./assets/vite_crxjs_vue3.jpg" width="340px" height="170px" />2.3. 重新点击 popup action
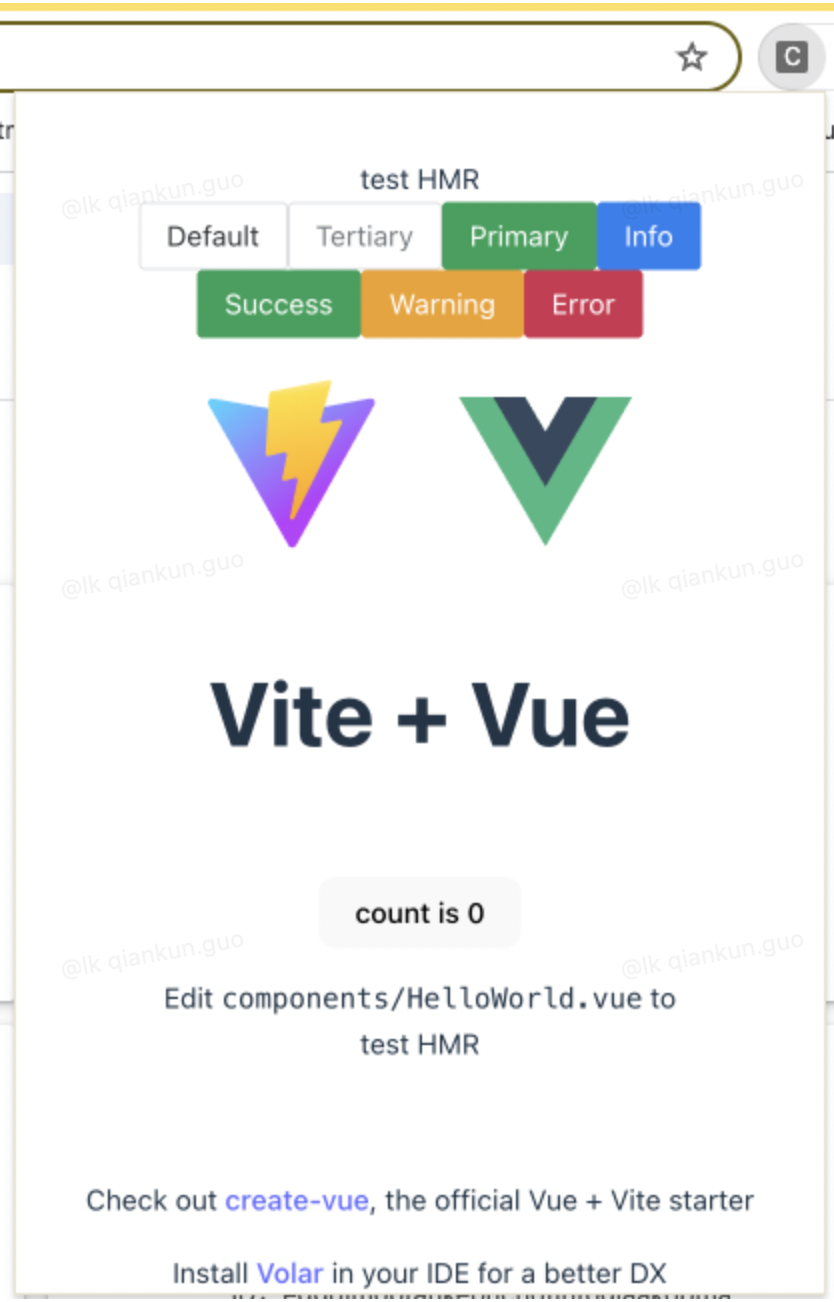
3. naive-ui 使用
3.1. 安装 naive-ui
shell
pnpm i naive-ui3.2. App.vue 中引入并使用
html
<script setup lang="ts">
import { NButton } from 'naive-ui'
import HelloWorld from './components/HelloWorld.vue'
</script>

<template>
  <div>
    test HMR


    <n-button>Default</n-button>
    <n-button type="tertiary">
      Tertiary
    </n-button>
    <n-button type="primary">
      Primary
    </n-button>
    <n-button type="info">
      Info
    </n-button>
    <n-button type="success">
      Success
    </n-button>
    <n-button type="warning">
      Warning
    </n-button>
    <n-button type="error">
      Error
    </n-button>
    <a href="https://vitejs.dev" target="_blank">
      <img src="/vite.svg" class="logo" alt="Vite logo" />
    </a>
    <a href="https://vuejs.org/" target="_blank">
      <img src="./assets/vue.svg" class="logo vue" alt="Vue logo" />
    </a>
  </div>
  <HelloWorld msg="Vite + Vue" />
  <img src="./assets/vite_crxjs_vue3.jpg" width="340px" height="170px" />
</template>

<style scoped>
.logo {
  height: 6em;
  padding: 1.5em;
  will-change: filter;
  transition: filter 300ms;
}
.logo:hover {
  filter: drop-shadow(0 0 2em #646cffaa);
}
.logo.vue:hover {
  filter: drop-shadow(0 0 2em #42b883aa);
}
</style>3.3. 重新点击 popup action
4. Pinia 使用
4.1. 安装 pinia
shell
pnpm i pinia4.2. Main.ts 中引入
typescript
import { createApp } from 'vue'
import { createPinia } from 'pinia'
import './style.css'
import App from './App.vue'

const pinia = createPinia()
createApp(App).use(pinia).mount('#app')4.3. Src 文件下新建 store 文件夹,内件 counter.ts
shell
src/store
└── counter.ts4.4. App.vue 中引入和使用
html
<script setup lang="ts">
import { NButton } from 'naive-ui'
import HelloWorld from './components/HelloWorld.vue'

import { useCounterStore } from './store/counter'
const store = useCounterStore();
</script>

<template>
  <div>
    test HMR


    count:{{ store.count }}
    <n-button @click="store.increment">Default</n-button>
    <n-button type="tertiary">
      Tertiary
    </n-button>
    <n-button type="primary">
      Primary
    </n-button>
    <n-button type="info">
      Info
    </n-button>
    <n-button type="success">
      Success
    </n-button>
    <n-button type="warning">
      Warning
    </n-button>
    <n-button type="error">
      Error
    </n-button>
    <a href="https://vitejs.dev" target="_blank">
      <img src="/vite.svg" class="logo" alt="Vite logo" />
    </a>
    <a href="https://vuejs.org/" target="_blank">
      <img src="./assets/vue.svg" class="logo vue" alt="Vue logo" />
    </a>
  </div>
  <HelloWorld msg="Vite + Vue" />
  <img src="./assets/vite_crxjs_vue3.jpg" width="340px" height="170px" />
</template>

<style scoped>
.logo {
  height: 6em;
  padding: 1.5em;
  will-change: filter;
  transition: filter 300ms;
}
.logo:hover {
  filter: drop-shadow(0 0 2em #646cffaa);
}
.logo.vue:hover {
  filter: drop-shadow(0 0 2em #42b883aa);
}
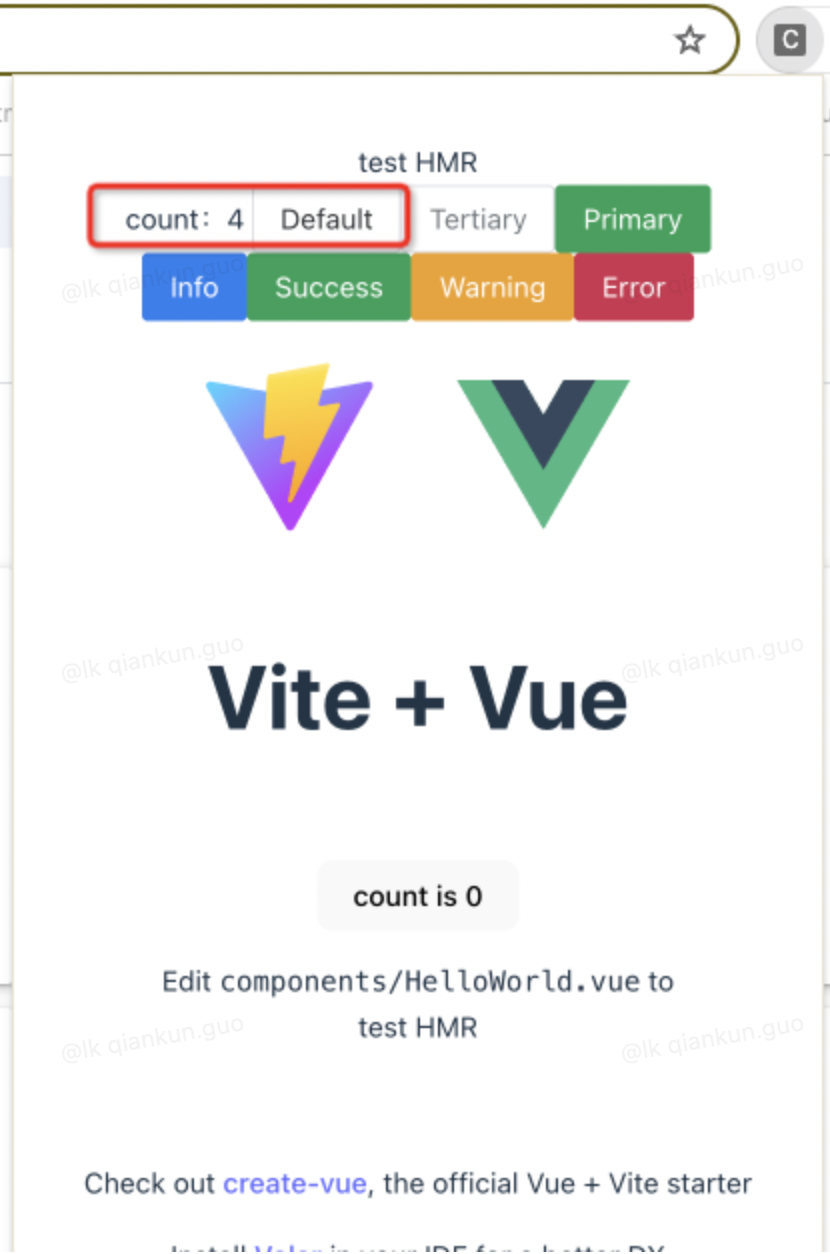
</style>4.5. 点击 popup,弹出页面
5. 使用 Less 预处理
5.1. 安装 Less
shell
pnpm i less -D5.2. App.vue 中使用
html
<div class="test-less">
  <ul>
    <li>test less</li>
  </ul>
</div>less
.test-less{
  padding: 20px;
  background: red;
  ul{
    padding: 20px;
    background: blue;
    li{
      padding: 20px;
      background: green;
      list-style: none;
    }
  }
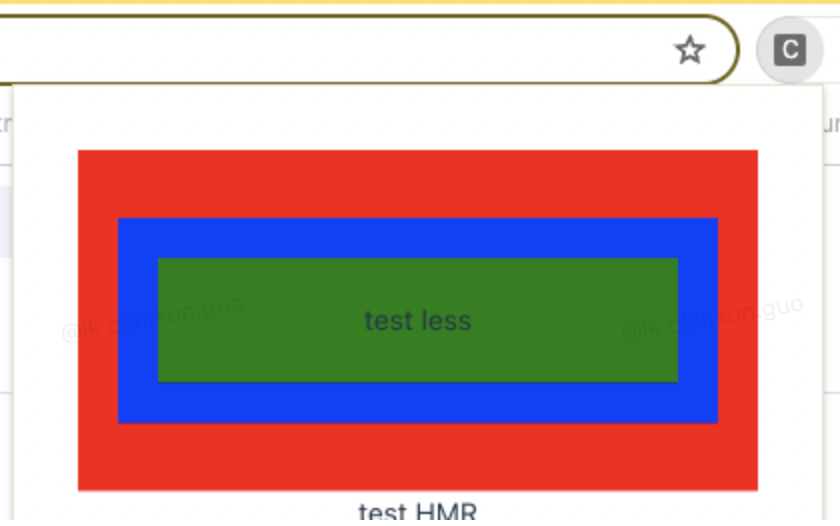
}5.3. 点击 popup,弹出页面
四、总结
- 使用 CRXJS 结合 Vite 插件结合 Vue 开发 Chrome 浏览器插件到这就基本结束了
- 使用 CRXJS 不需要自己在手动配置 vite.config.ts 文件了,方便了不少